05 6月 Aluminum silicon vibration forming process application
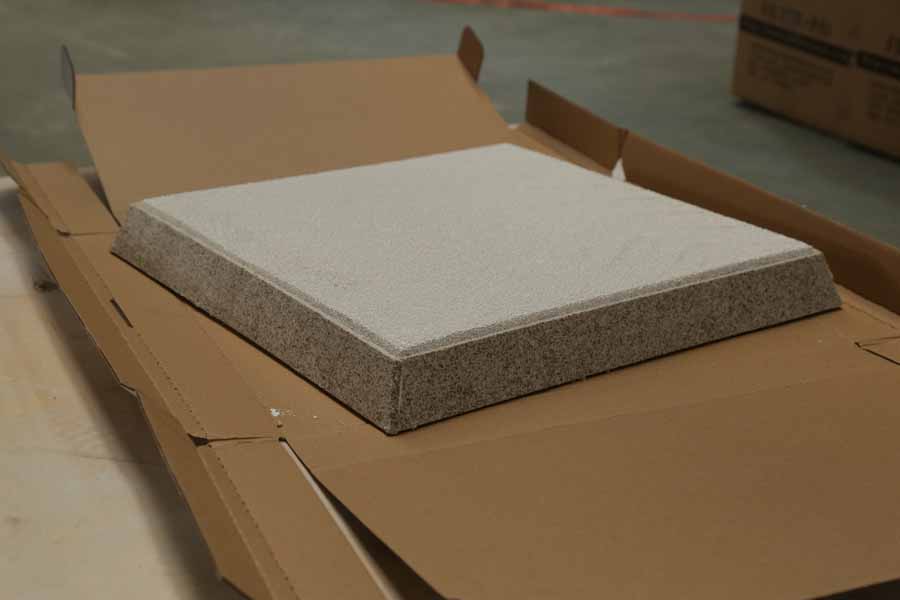
Production and development of aluminum-silicon vibration molding products in response to market demand. The product types include sleeves, diverter plates, thermal top caps, adapter plates, and mold plate chutes. The production process formula and process standards are summarized as follows:
1. Formula:
1. Sleeve and adapter plate ramming product formula
Material A is 34 kg, material B is 20 kg, material C is 15 kg, material D is 6 kg, and material E is 34 kg.
2. Distributor plate, molded plate chute, adapter plate, thermal top hat vibration molding products
Material A is 34 kg, material B is 20 kg, material C is 15 kg, material D is 6 kg, material E is 31 kg, and material F is 5 kg.
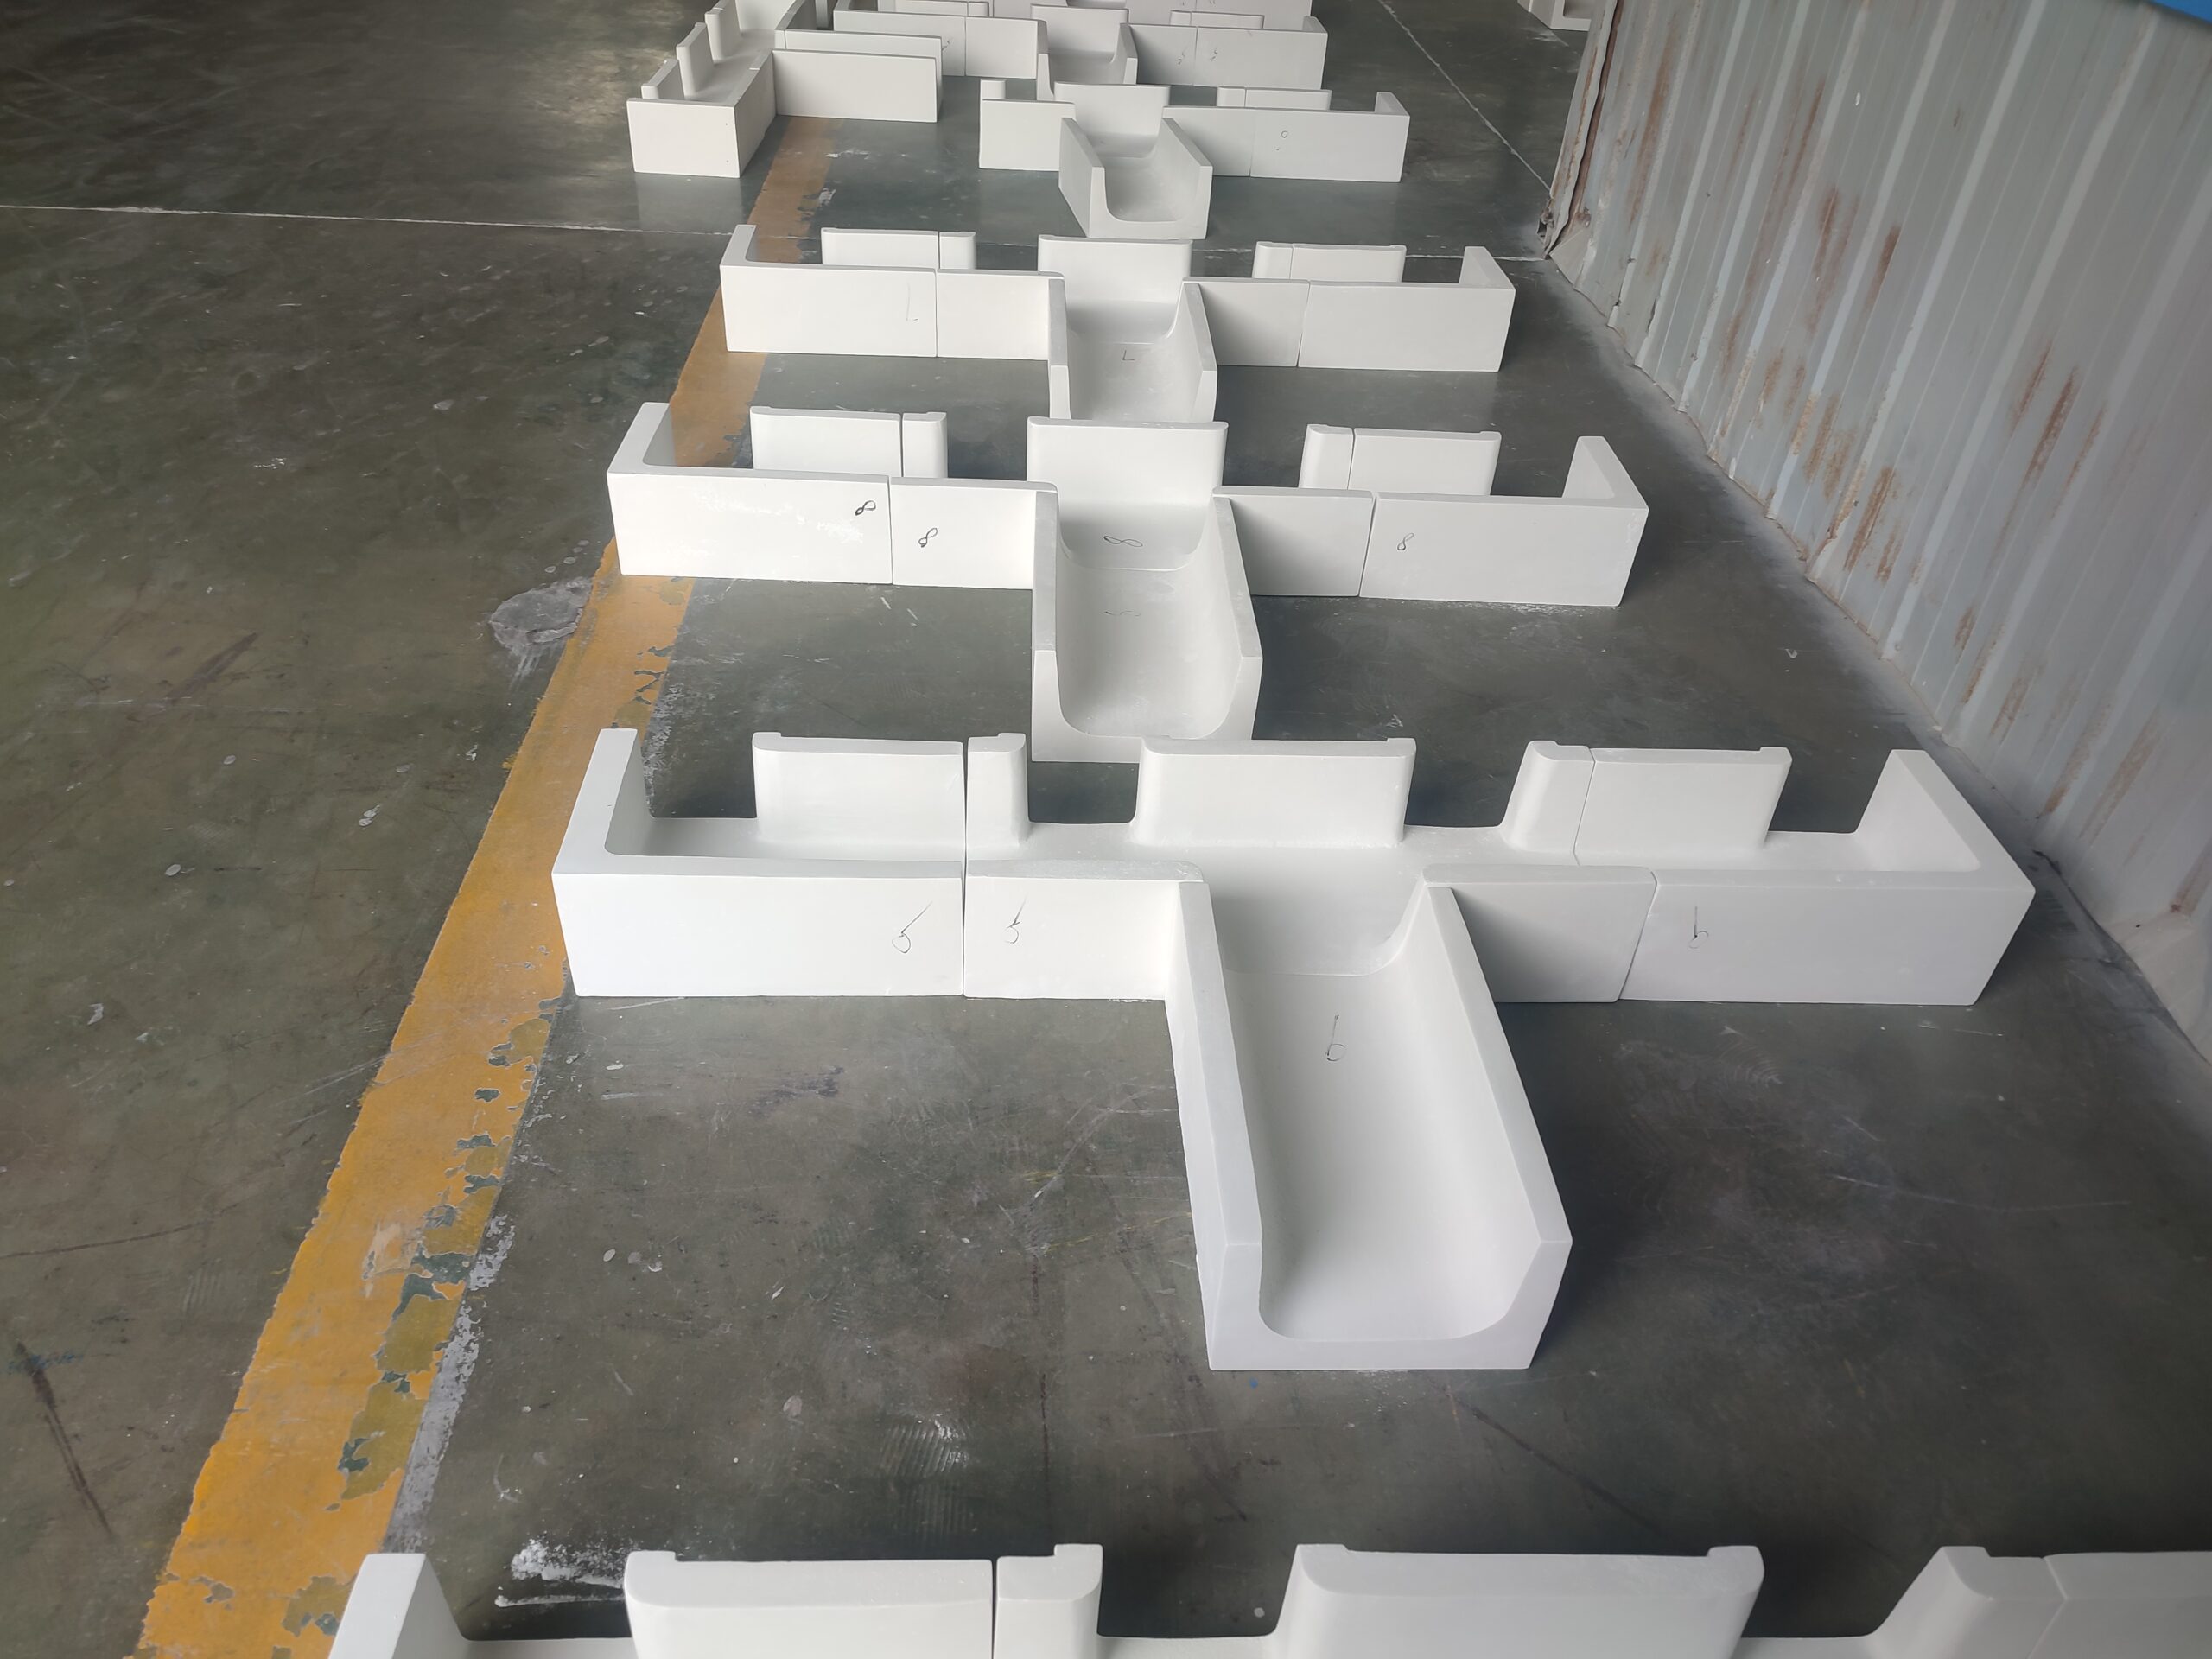
Splitter plate
2. Process standard:
(1) Molding:
1. Preparatory work (wearing labor insurance, trial operation of various equipment, picking materials, inspecting raw materials, and checking to measure tools and molds).
2. Weigh various raw materials according to the proportion of the formula and pour them into the kneading machine box for 20 minutes. Open the cover of the kneader and observe the dry humidity of the synthetic raw materials. If the dry moisture is not suitable, add silica sol or dry powder again and stir again until the dry humidity is suitable before use (dry Humidity is based on the standard of kneading into a ball with hands and not loosening).
3. Pour from the kneader box into the material basin and pull it to the vibration table to prepare for vibration molding.
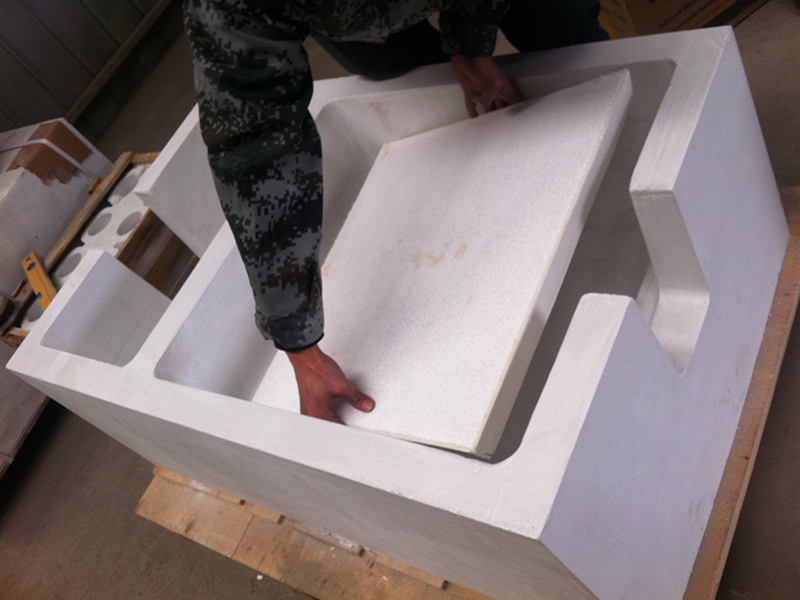
4. After correcting the abrasive tool to match each size of the drawing, brush the mold release oil and put it on the vibrating table.
5. Pour two-thirds of the prepared raw materials into the mold and start to vibrate on the vibrating table for 2 minutes. Add raw materials again until the mold is filled and the slurry is vibrated out. Stop the vibrating table switch to make the product as high as the mold.
6. Prepare wooden boards and newspapers to pave the ground and place the products and abrasives upside down on the prepared wooden boards and newspapers.
7. Loosen the fixed abrasive screw and slowly take off the outer mold, and then slowly take off the inner membrane.
8. After the wet billet is placed in a suitable place to cool for about 3-5 hours (when the product is half dry but not wet), correct all dimensions and straighten the non-straight position.
9. After placing it for 3 days, turn it up to dry the bottom surface. After 6-7 days, wait for the product to dry completely, combine it firmly and prepare to transfer to the next process.
10. Put the fully hardened product into the transfer tray, write the transfer card, and send it to the shaping area.
(2) Shaping:
1. Open the shaping equipment to check whether it is normal and whether the measuring tool and the flatness of the table are suitable.
2. Review the drawings, be familiar with each dimension of the pictures, and correspond to the products one by one.
3. Find out the flat surface of the product and determine the height of the product for cutting. A grinder polishes the size of the six sides and the corresponding size of the drawing is completed. Fill in the corresponding column of the accompanying card and send it to the repair process.
(3) Repair paint:
1. Repair personnel are ready to check whether the product size and number of pieces are consistent with the drawings before repairing.
2. To prepare for the first repair, first take out the three raw materials according to the proportion, add glue, and stir them into a paste to smear the product’s surface.
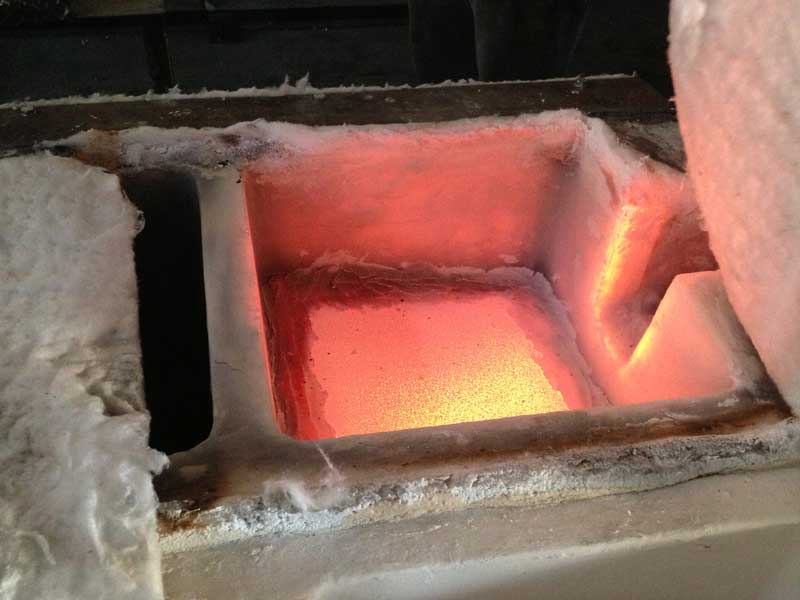
3. After smearing, put it on the iron frame to prepare for sintering in the furnace, and transfer it to the kiln area to hand over to the kiln workers to sinter at the set temperature of 500 degrees.
4. After being out of the furnace, the foam rubber is transferred to the kiln area for the second sintering and then fired at 480-500 degrees.
5. Transfer it to the repair area to prepare for the second repair.
6. After the repair is completed, self-inspect and then report for inspection;
7. After passing the inspection and inspection, it is packaged and put into storage.
Note: The process is immature and unstable at present, and the shrinkage of the product is not stable, and the shrinkage is between 1% and 3%. In view of this situation, it is requested to formulate a suitable acceptance standard for the material of this process.
3. Dimensional acceptance criteria for aluminum-silicon vibration-forming products
1. Launder system
Height Tolerance +1/-5; Depth Tolerance +2/-5; Bottom Butt Step≯5mm, Width Tolerance +2/-6, Butt Inner Tolerance +6/-3mm, Length Tolerance +2/-5; Other Tolerances ±5mm.
2. Splitter plate
Height Tolerance +1/-5; Depth Tolerance +2/-5; Width Tolerance +1/-5; Butt Inner Tolerance +6/-3mm, Length Tolerance +3/-5; Center Distance Tolerance ±5mm; Inner Hole Tolerance +3/-2, other tolerances ±5mm.
3. Hot top hat/ tap out cone
Height Tolerance +1/-5; Depth Tolerance +2/-5; Width Tolerance +1/-5; Butt Inner Mouth Tolerance +6/-3mm, Length Tolerance +2/-5; Inner Hole Tolerance ±5mm, Other Tolerances ±5mm.
4. Appearance acceptance criteria
The exterior surface of the repair coating is relatively smooth, without uneven grinding such as bumps, and no more than 5 pores and trachomas with a size of ≤0.5mm are allowed; there are no stains on the surface.
Related posts:
 Anti Vibration Aluminum Ceram Foam Filter
 Silicon Carbide Foam Filter Aluminum Casting Industry
 Production process of aluminum alloy doors and windows
 Ceramic fiber paper production process
 Application characteristics of Boronitride coatings in various fields
 Silicon Ceramic Foam Filter
 Silicon Carbide Ceramic Foam Filters
 Application for refining flux
 Aluminum Degassing Process
 Cubic Boron Nitride Coating
 Silicon Carbide Ceramic Filter
 Molten Aluminum Purification Operation Process
 Aluminum melting process
No Comments